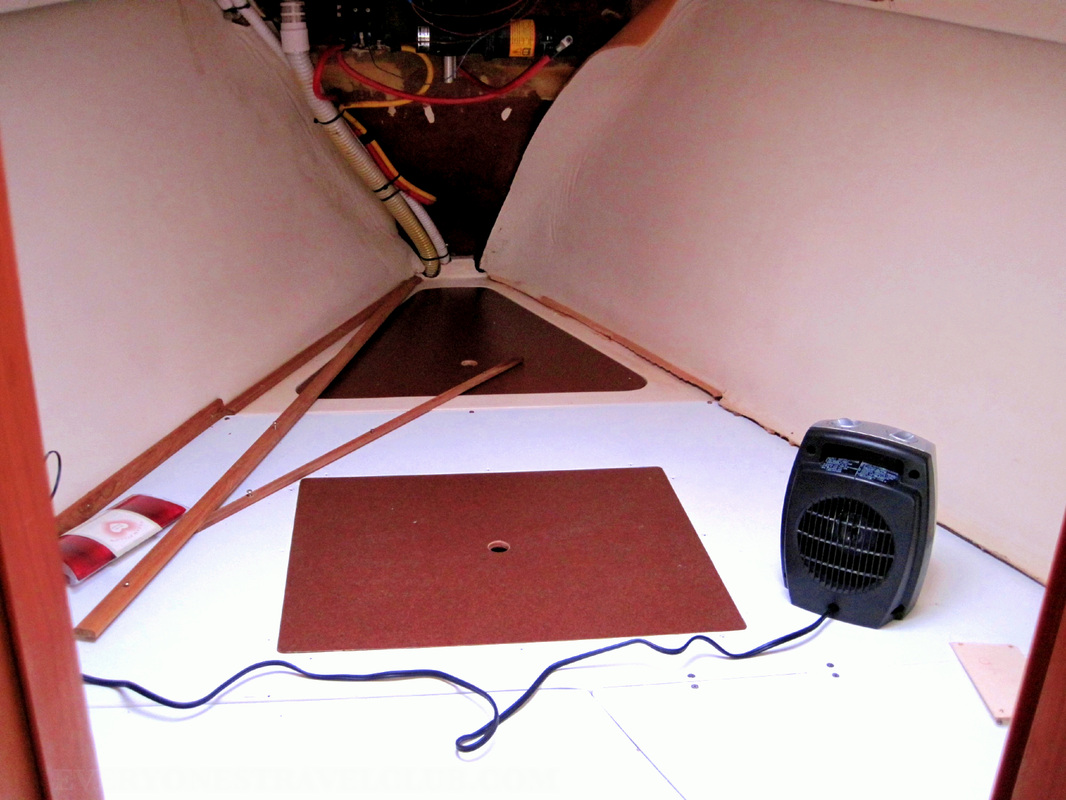
 Our v-berth with the forward cover removed We'd like to introduce you to our v-berth. You know, it's the front pointy part of the boat, it usually has a pretty cozy bed (ours does) and when you lay down on a clear night you can see out the hatch to the moon and stars. Problem is, our v-berth had a leak. Long-leaky-v-berth-story short - we fixed it. Unfortunately, our previous owner hadn't fixed it, for I don't know, years before we bought the boat so it caused a good amount of damage to the white boards in the picture above. Long-warped-rotting-replace-wood story short - we fixed that too. So, this brings us to today's post. The v-berth walls. The vinyl/foam insulation on the walls needed removed and replaced. That seemed easy enough. Well, it wasn't (drama!). We invite you to share in our story and become a part of it! Periodically throughout the story we'll have an anonymous quiz that asks you the reader if you would keep going on the project yourselves or throw in the towel and hire some pros. Put yourself in our shoes for a few minutes. How handy are you? Marine vinyl masters? Or newbies like us trying to save a few bucks and risk it by doing the project ourselves!?!?! 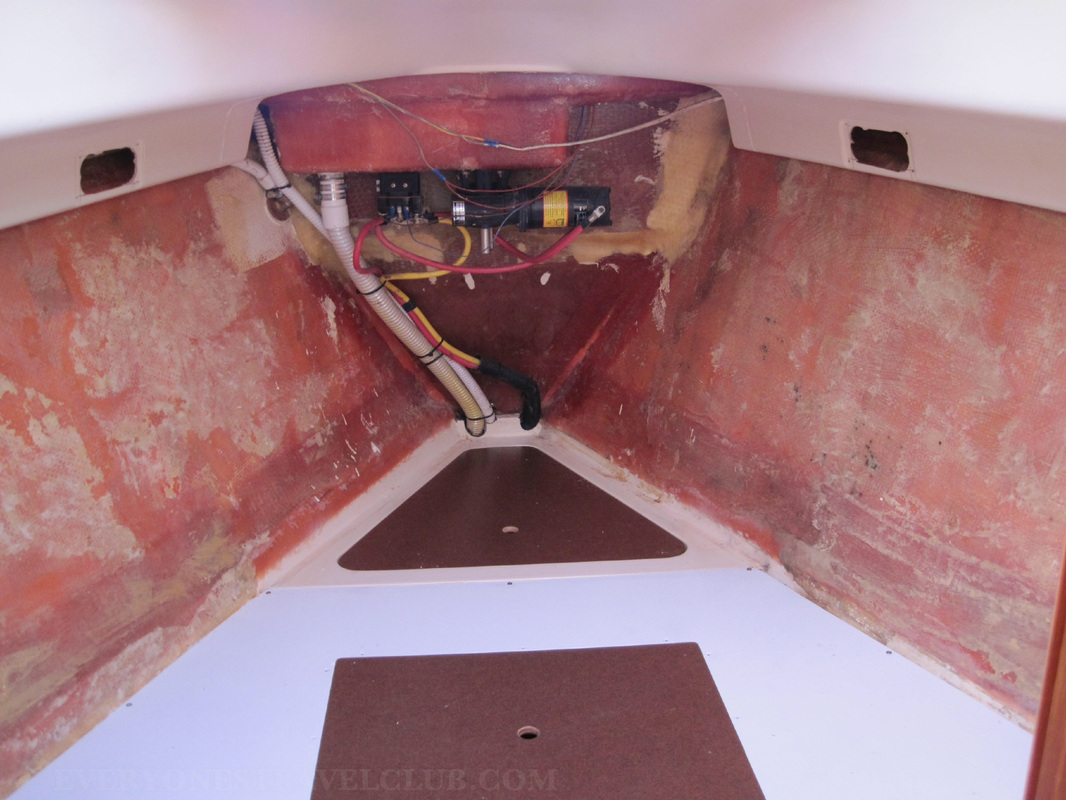 Our v-berth with the old vinyl/insulation walls removed First, we had to remove the old vinyl/insulation from the v-berth walls. A little sweat, pulling, and scraping and we were down to fiberglass (pic above). Now, we could of just purchased some new insulation and vinyl, cut and glued, and we'd have been good to go. Where's the drama in that? Who needs the pros, we got this. Time for your first vote! 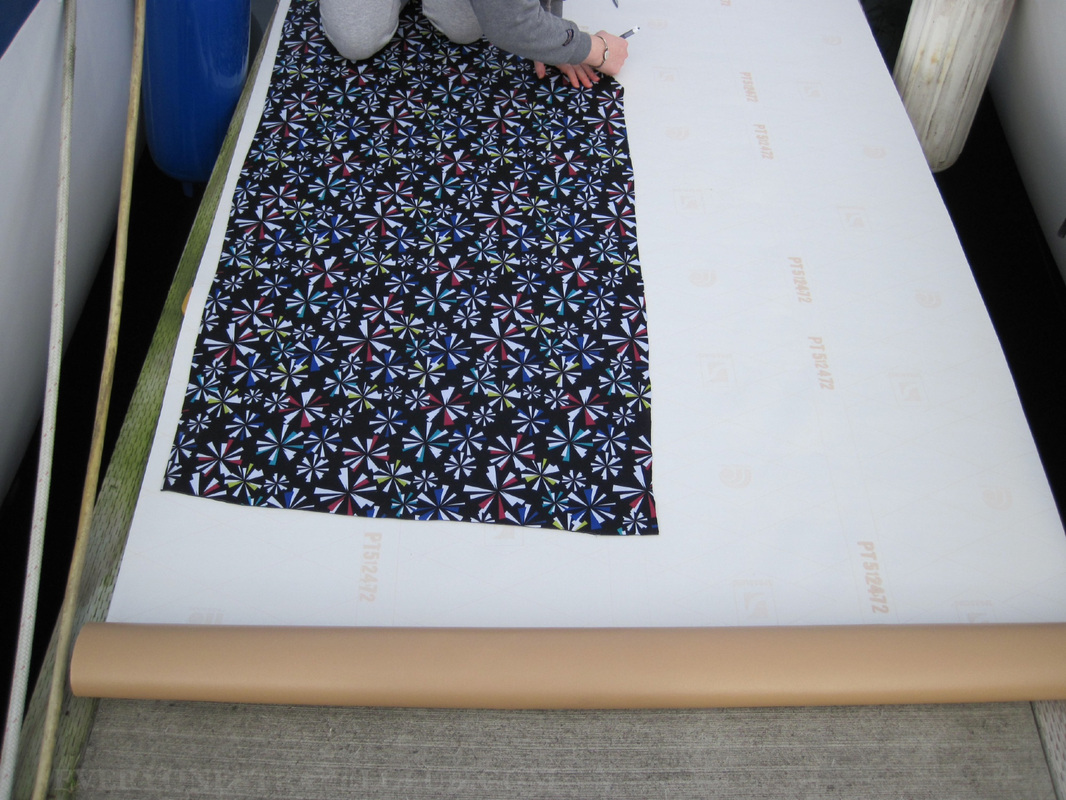 We then purchased some tan marine vinyl on sale with a coupon from Jo-Ann Fabrics and also some crazy looking insulation-type neoprene fabric to take the place of the old foam. We saved tons of money, especially with the coupons (P.S. stuff at Jo-Ann's is always on sale at some point - like 50-70% so be patient, hunt some online coupons, and get a great deal). The cutting was no problem. Then we started looking into glues...and adhesives...and more glues...and more adhesives. 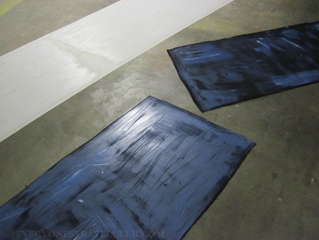 After much research and glue price checking (it turns out glue is expensive...depending on the glue) we decided to go with some water-based contact cement (from Lowe's). Was this the best choice? Probably not. Was it somewhat affordable? Yes. Does water-based contact cement cause a few less cancers than normal contact cement? We think so. Here's the thing about glue. It really boils down to nasty, cancer causing ingredients. The more of that stuff, the more flammable perhaps, the better it will stick. We aren't gluing something in the garage here. This is our bedroom...in our house (boat) where we live. Whatever we decided to glue we'd be living where we glued it...while it dries. Something I've learned about myself during boat living over the past year was that I love living on the water, I love sailing, I love my boat, but giving myself cancer just to attach some new walls to my v-berth isn't really worth it. Price was a factor as well. Great glue often seemed to come in tiny bottles and we were talking about gluing quite a bit of vinyl. Time to vote! Now for some drama. The contact cement didn't stick. After days of drying, it didn't stick. We had 4 pieces (2 walls with 2 pieces of insulation) of giant fabric with glue on them that didn't stick. The money for the glue - wasted. Time spent - wasted. Now, time to call the pros? We called the pros. They gave us an estimate. Drum roll please. It would cost us roughly $3,000 +. We hung up with the pros and never called them back. For that kinda cash we could afford to screw up multiple times! Next up - us screwing up multiple times...with glue...again. Despite my best friend's hatred for Gorilla Glue, we purchased some (it's at least affordable) and tested it on a small piece of our each of our fabrics. It worked great. We knew that it expanded upon drying, but that didn't seem to bother the situation. Let's do this! We added the glue to the fabric pieces in lines - it looked like long strings of spaghetti, winding their way all over the pieces. We set books on top and left it for a day. Well, guess what? The glue expanded. Quite a bit. It stuck great, but when we put the walls up in the v-berth we could see the spaghetti lines all over the place. Grrrrrr!!! We took a little break from the drama. We rolled up the warped vinyl and let the project sit for awhile. Then a little lightbulb turned on in my brain. This type of thing is one of the reasons I like the combination of owning a boat and not being rich - you get creative. We trashed the vinyl/insulation. We took the unopened can of the water-based contact cement back to Lowe's to get a little money back. We hit up Jo-Ann's again, but this time it wasn't for more vinyl...it was for fabric. 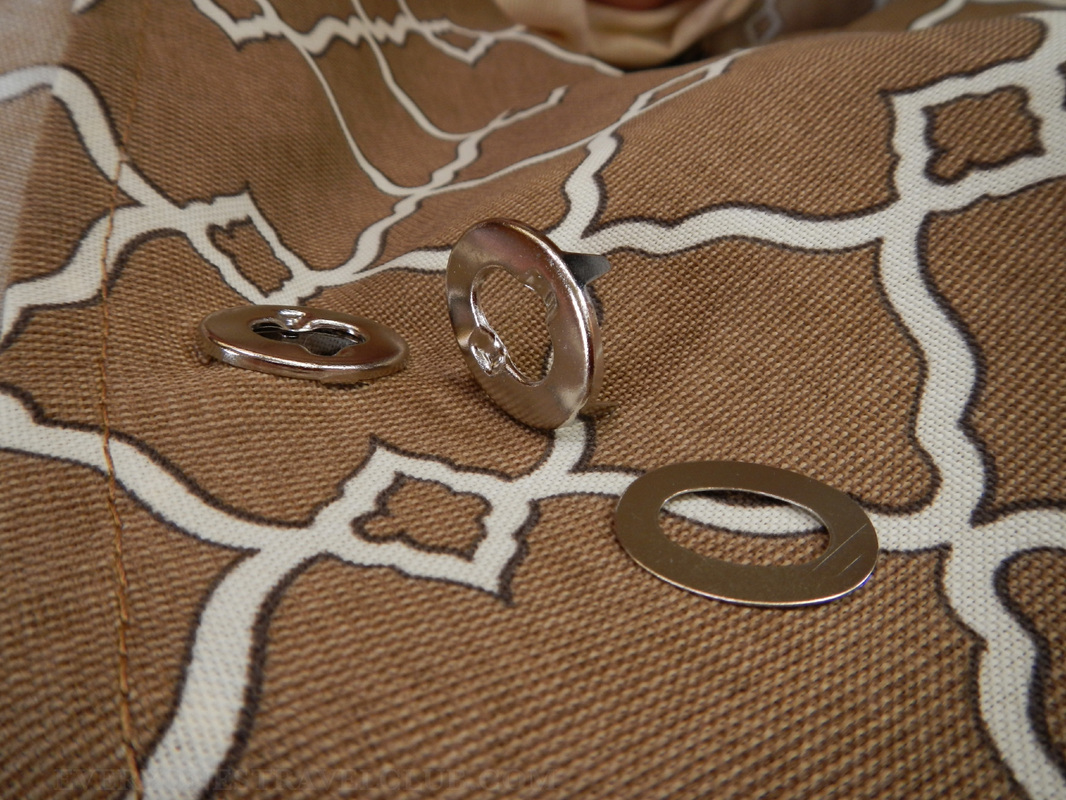 We just so happened to hit a 50% outdoor fabric sale...perfect. We bought some Sunbrella-type fabric and ordered some nautical-sailcover-like fasteners online (they're way cheaper here online). Captain wifey does have a sewing machine aboard, and she worked the seams, edges, (I'm just making up sewing words here) & fasteners. I used a little dab of 4200 epoxy to hold the other side of the fasteners on the v-berth walls...and... 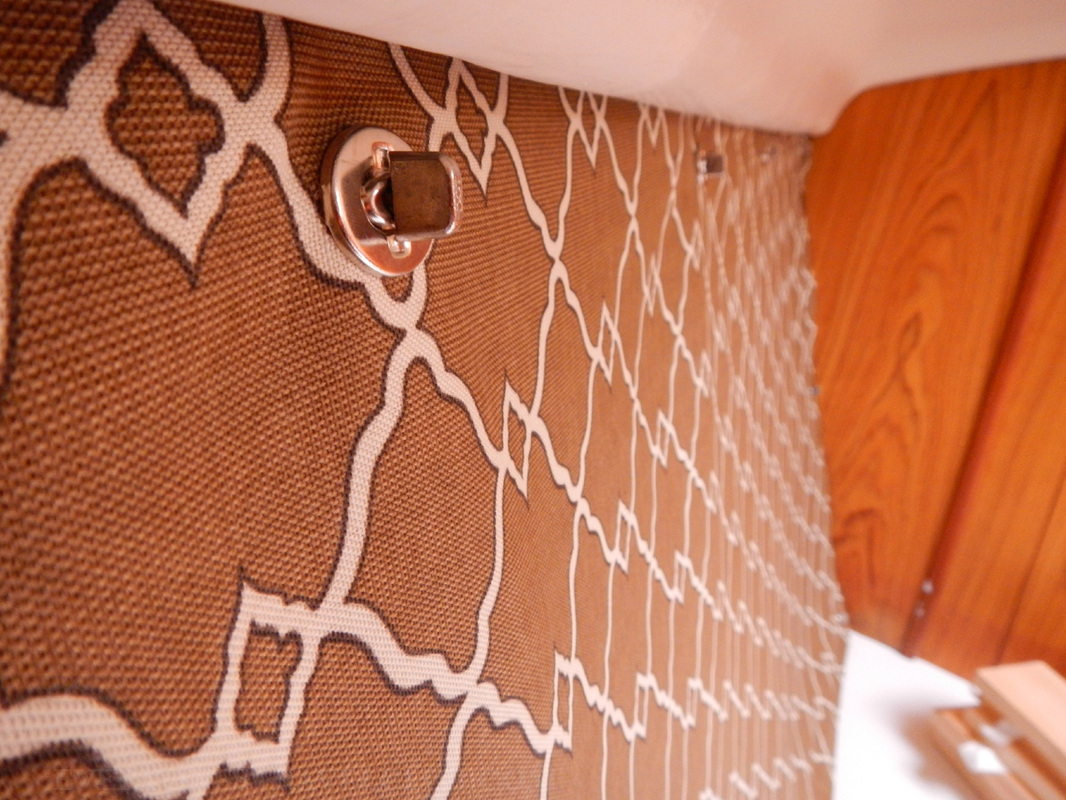 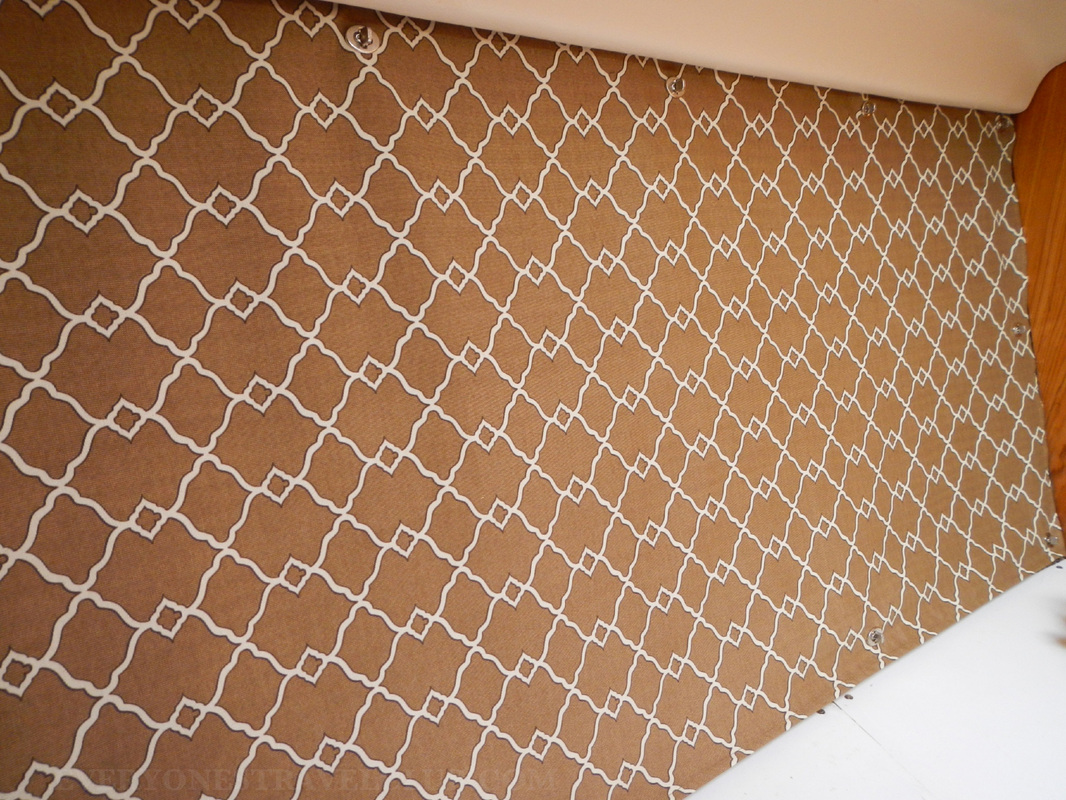 …complete! We're pretty happy with our final product and, despite how your votes end up, happy that we finished the project ourselves. We think the heavy outdoor fabric will hold up nicely. Since the fabric walls are not actually attached to the boat, we can easily remove them if we need to or if we got really bored - change the fabric to suit our interior design needs (I don't see that happening anytime soon…er…ever) (Update: after the first winter, we decided to make sure and scrape all of the little tiny pieces of foam insulation left on the walls off. After that we painted the walls white with some indoor/outdoor no-need-for-primer paint…been working great, with the occasional wash of the fabric). Looking back on the project, we think the Gorilla Glue might have actually worked fine if we would have used a little less and really spread it out. We also decided not to add insulation - we had lived most of the winter without it so it didn't really bother us. I hope you enjoyed our tale, and thanks for voting! Final project (with cat) below. ~Paul & Amber (& Kali below) ETC 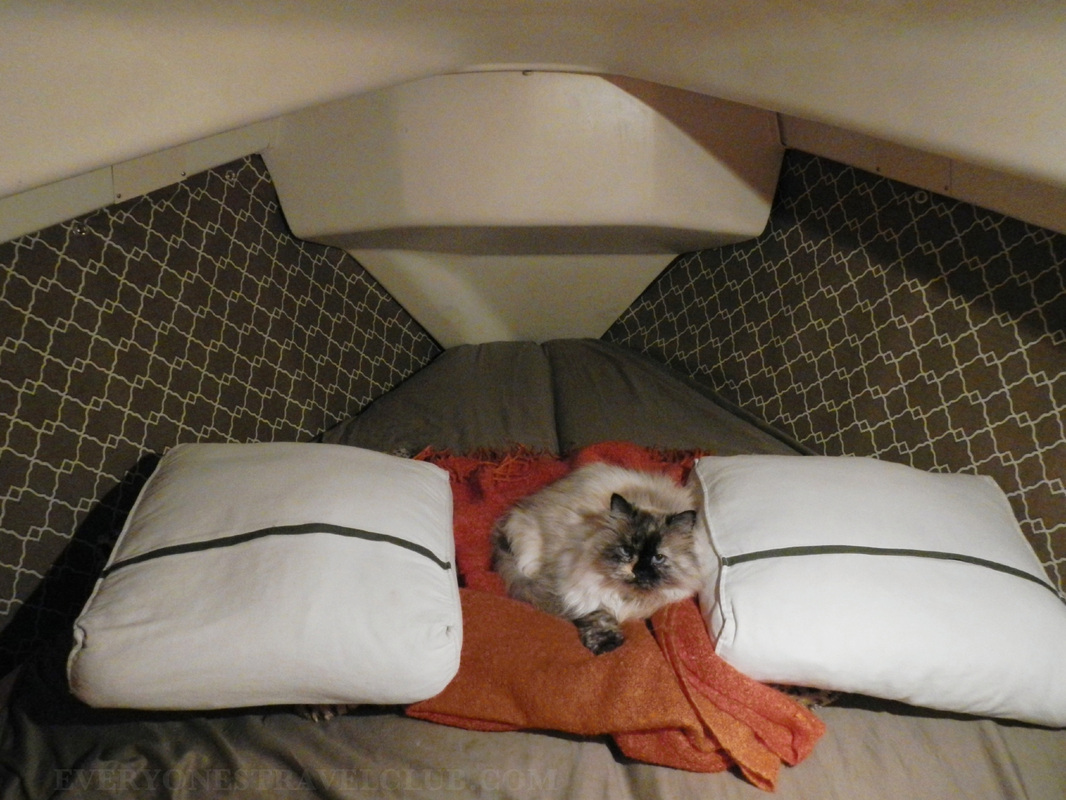
9 Comments
9/4/2012 12:38:33 am
I don't think you'd ever have gotten the Gorilla glue to work. Because of the expansion, any differences in the applied thickness would be greatly magnified, and you'd still have a lumpy finished product. 9/4/2012 02:51:48 am
This would be a great article for inclusion in <a href="http://smallboatprojects.blogspot.com">Small Boat Projects</a>. Would you consider letting me copy it? We're about to do the same thing... Except we ripped out that old vinyl throughout the whole boat. It was a nasty job. I'm planning on using the "super strong" spray glue. I'm not sure if it'll work yet though. I like the fabric idea. Then it's easy to change and mix it up. I'll have to ponder on that one.
jack
9/5/2012 01:17:34 am
I replaced old vynel on the interior of a 1968 Ericson with 4 inch white ash, screwed to vertical furring strips glued to the hull with construction adhesive...it left a half inch air gap which eliminated condesation, and could be insulation with closed cell foam.. total cost for materials was about $100.....Varnished wood and bright brass screws made a striking interior on an old boat.
Catherine
4/18/2014 05:30:27 am
I'd love to see pictures of that Jack. We are in the process of ripping out all the old wall material and foam backing from the v and aft boats of our "new to us" Express 35. Its a nasty job but it needs to be done.
Carlie J Riggs
10/10/2018 04:40:06 pm
Hi, I see this is an old post but I'm hoping against the odds that you can explain a little more detailed how you hung the fabric from the side walls of the v berth. I have tried the vinyl myself and never again!! I thought about using fabric, which is beautiful, btw, but I didn't want to glue it. Thanks,
Carlie, Old post? You callin' me old!?!?! Leave a Reply. |

Categories
All
We hope you've enjoyed the time you've spent on our site. All images, text and designs are copyright Everyone's Travel Club and may not be used without written permission from us. Email us!

Archives
August 2022
|


 RSS Feed

|
Connect:Contact: |
everyonestravelclub@gmail.com |